If you’re looking to renovate your home and want a seamless wallpaper application experience, the Tiptopcarbon Wallpaper Kit is the solution. This comprehensive toolset not only simplifies the process but also ensures a professional finish, tackling various wallpapering challenges with ease. Let’s dive into its features and see how it can transform your space.
Product Features
| Feature | Description |
|---|---|
| Brand | tiptopcarbon |
| Manufacturer | WrapXpert |
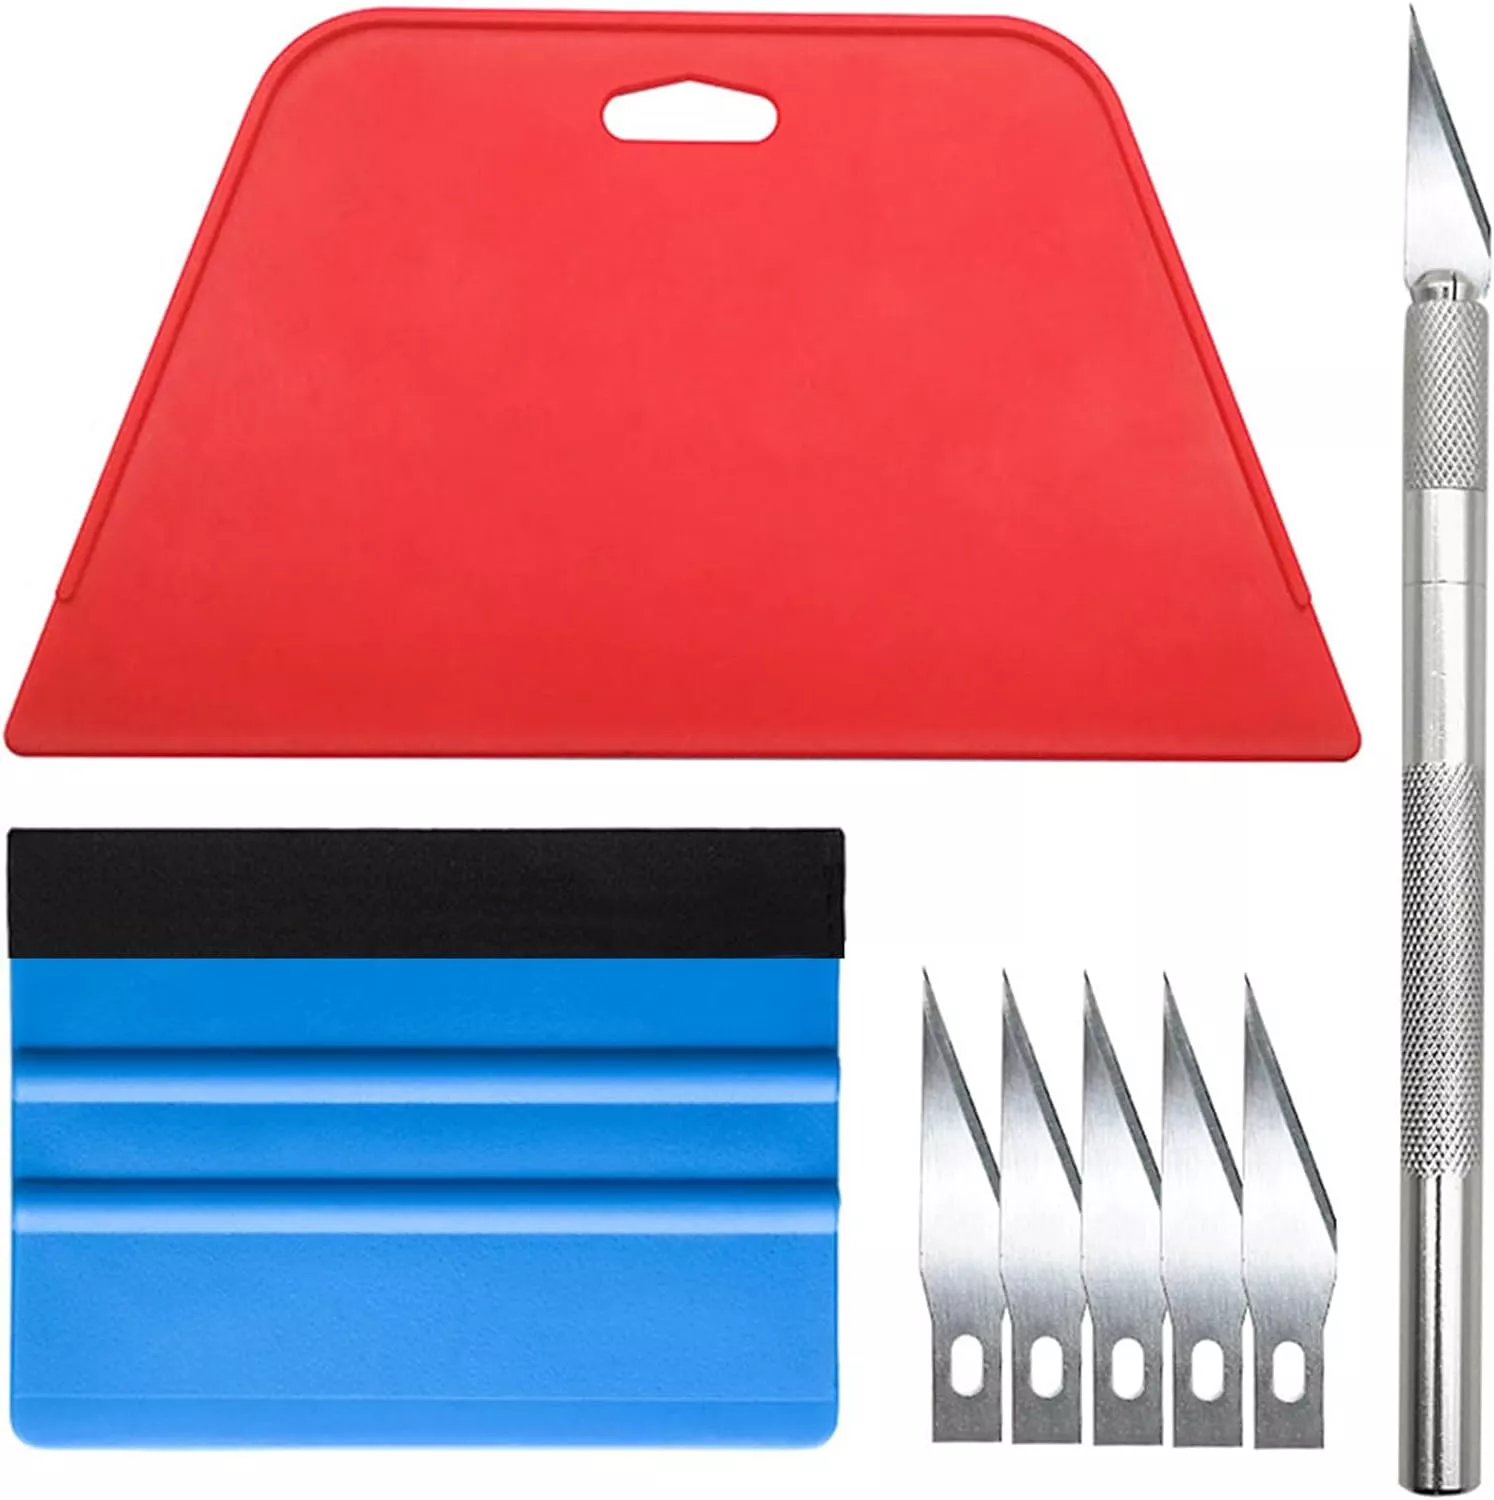
| Tool Types Included | Squeegees, Seam Roller, Knife and Blades, Scraper, Cutter, Measure Tape |
| Key Features | Helps with wallpaper application, trimming, vinyl wrap, window tint, and contact paper |
| Large Squeegee | Red squeegee tool smooths out creases and bubbles for large surfaces |
| Regular Squeegee | Medium-hardness blue felt; prevents scratches |
| Knife | Lightweight aluminum handle for comfort; includes 5 replaceable blades |
| Seam Roller | Ensures seamless joining of wallpaper, enhancing the overall appearance |
| Safety Features | Knife with blade cap for safe storage |
Product Overview
| Pros | Cons |
|---|---|
| Comprehensive toolset for various applications | Learning curve for beginners |
| Durable and high-quality materials | May require practice for perfect results |
| Affordable for the features provided | Some tools may be too large for tight spaces |
Understanding the Importance of Quality Wallpaper Tools
When I first embarked on my wallpapering journey, armed with little more than enthusiasm and a roll of wallpaper, I quickly discovered the value of quality tools, particularly when using the Tiptopcarbon Wallpaper Kit. The process of applying wallpaper can feel daunting, especially if you’re new to it. However, the tools in this kit made a significant difference in my experience.
Let’s start with the application aspect. The kit includes a convenient smoothing tool that effectively eliminates air bubbles and ensures an even application. I remember my first attempt; I didn’t have a smoothing tool, and by the end, my wallpaper was riddled with creases. The precise edge trimmer in the kit also allows for clean cuts, which is essential for achieving a polished look. I’ll never forget the sense of accomplishment when I achieved seamless edges using that trimmer.
One of the most valuable lessons I learned in the process was the importance of patience. The Tiptopcarbon Wallpaper Kit encourages you to take your time, which truly pays off. Avoiding common mistakes, like misalignment or air pockets, is easier when you feel equipped and confident. The included step-by-step guide within the kit helped me avoid the frustration many face during their first attempts. Overall, using high-quality tools set me on a path toward becoming not just a wallpaper enthusiast, but also a meticulous home decorator.
Step-by-Step Guide to Using the Tiptopcarbon Wallpaper Kit
Using the Tiptopcarbon Wallpaper Kit is straightforward, and I’m excited to share my step-by-step guide based on my firsthand experience. First, make sure you have all the necessary tools from the kit ready: a plastering tool, a smoothing tool, and your wallpaper adhesive.
Start by measuring your wall space accurately. I find it easier to mark vertical lines where the edges of the wallpaper will go. This gives you a clear guide and helps avoid crookedness. Next, apply the adhesive evenly to the wall using the plastering tool. Make sure to cover the entire area where the wallpaper will be placed.
Now, carefully position the first strip of wallpaper along your marked line. This is where the smoothing tool comes in. Gently smooth out the wallpaper, starting from the center and working your way to the edges. I’ve learned that this technique helps prevent bubbles from forming.
As I continued applying strips, I made sure to match patterns, which was easy with the landmarks I’d created. A tip to avoid common mistakes is to take your time; rushing often leads to tears or misalignments. And remember, if you find a bubble, gently peel back, reapply adhesive, and smooth again.
Overall, I felt a tremendous sense of accomplishment as I stepped back to admire my work. The Tiptopcarbon tools made the process intuitive, allowing me to achieve a professional finish that I didn’t think was possible on my own. Plus, cleanup was easy, and I didn’t end up with the mess I had anticipated.
Conclusions
The Tiptopcarbon Wallpaper Kit is an invaluable asset for anyone looking to tackle wallpaper and vinyl projects at home. With a variety of tools included, it encourages efficient application and professional results. Whether you’re a novice or an experienced DIYer, investing in this kit can truly transform your renovation experience.