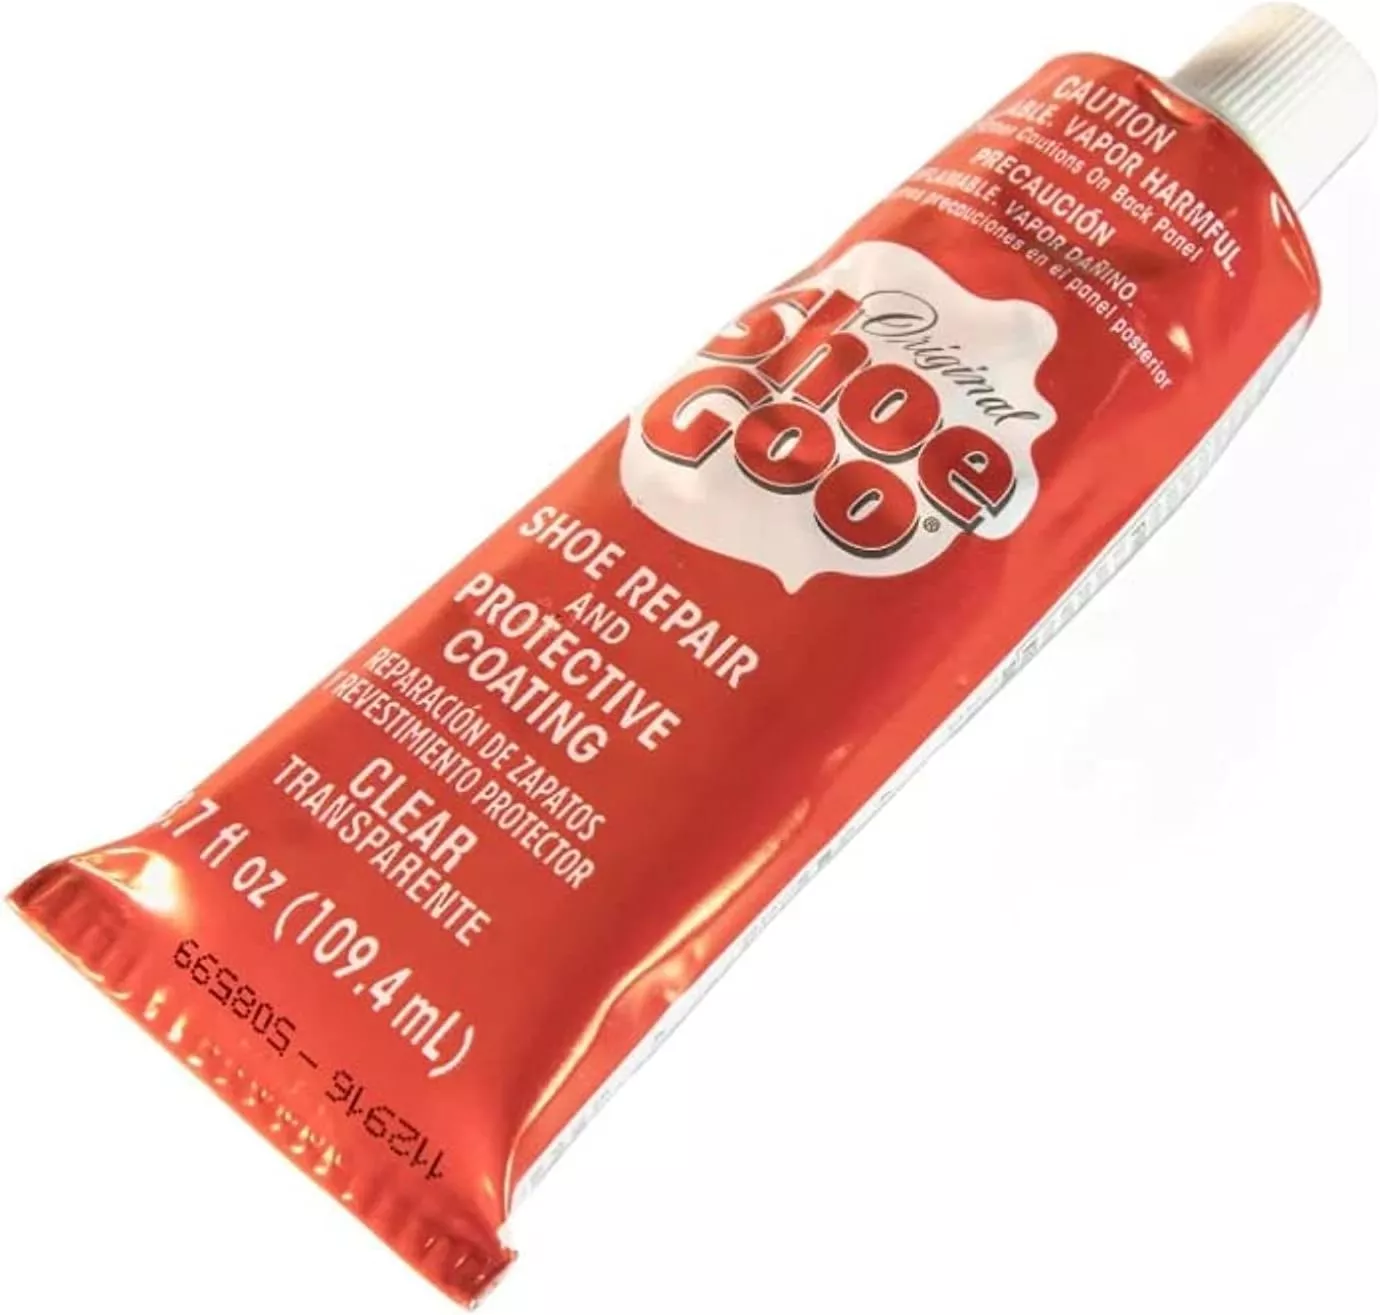
In today’s world, where our shoes endure constant wear and tear, having a reliable adhesive for repairs is essential. Sof Sole Shoe Goo Repair Adhesive stands out as a top choice for fixing worn shoes and boots. This article will delve into its features, benefits, and practical usage based on extensive user experiences.
Product Features
| Feature | Description |
|---|---|
| Product Name | Sof Sole Shoe Goo Repair Adhesive |
| Model | 110011 |
| Brand | Sof Sole |
| Volume | 3.7-Ounce Tube |
| Type | Clear Adhesive for Shoe Repairs |
| Category | Shoe, Jewelry & Watch Accessories |
| Application | Adhesive for soles, fabric, leather |
Product Overview
| Pros | Cons |
|---|---|
| Highly effective for various shoe materials | Strong solvent fumes; requires good ventilation |
| Durable hold even in flexible areas | Needs time to fully cure for the best results |
| Easy to apply with proper prep | Cleanup may require solvents like acetone |
Understanding the Sof Sole Shoe Goo
When it comes to using Sof Sole Shoe Goo effectively, preparation is key. First, I always start by cleaning the area that needs repair. It’s essential to remove any dirt or debris because this adhesive bonds best to clean surfaces. I recommend using rubbing alcohol or a similar cleaner to ensure the area is spotless. Once it’s dry, I assess the damage. For example, in the case of detached soles, I align them properly and squeeze them together to see how they fit.
Next, applying the Shoe Goo is crucial. I find it helpful to use a small brush or even a toothpick for precision. It’s easy to apply a thin layer of adhesive to the damaged area—sometimes less is more. I make sure to cover the entire area, and I avoid excess that could ooze out. After applying the adhesive, I press the pieces firmly together for a better bond. It’s important to note that the bond strengthens over time, so I typically refrain from using the shoes for at least 24 hours.
If I face any challenges during this process, like the adhesive not setting correctly, I make sure to check if I missed any cleaning steps or applied too thick a layer. It’s also vital to store the adhesive in a cool, dry place to maintain its effectiveness. With these tips, I’ve found that my repairs not only last longer but also restore my shoes to a usable condition, saving me the trouble of buying new pairs.
How to Use Shoe Goo Effectively
Using Sof Sole Shoe Goo effectively can transform your shoe repair experience from a daunting task to a straightforward endeavor. First, I recommend gathering your materials. You’ll need the Shoe Goo itself, a cleaning cloth, scissors, and possibly a toothpick or small knife for precision application. Start by examining the area in need of repair. It’s essential to clean the surface thoroughly; any dirt or moisture can diminish the adhesive’s effectiveness. A cleaning cloth dampened with water or a mild detergent should suffice. Allow the area to dry completely.
Once prepped, it’s time to apply the Shoe Goo. Squeeze a small amount onto the damaged area, using a toothpick or your finger to spread it evenly. I find it helpful to overfill the area slightly, as this will ensure a strong bond. Make sure to avoid applying too much if it’s a small tear, as it may ooze out and create a mess.
After applying, allow the adhesive to cure according to the instructions on the packaging. Typically, a 24-hour drying period ensures a durable fix. If you’re concerned about visibility, remember that Shoe Goo usually dries clear, so it’s often unobtrusive.
Common challenges include misalignment or insufficient adhesive. If you mess up, just scrape away the excess and reapply. Always store your Shoe Goo in a cool, dry place to maintain its potency. With these practical tips in mind, I’ve found successful repairs become second nature, making the restoration of my favorite shoes a gratifying process.
Conclusions
Sof Sole Shoe Goo Repair Adhesive is an excellent option for anyone looking to extend the life of their footwear. With proper application techniques and patience during the curing process, this adhesive provides remarkable repairs for various shoe types. It’s a must-have in any DIY repair toolkit!